
Host a table
Buy a whole table for your family, business or friends. You pay once, then you and your guests put a name on each seat.
Buy a table
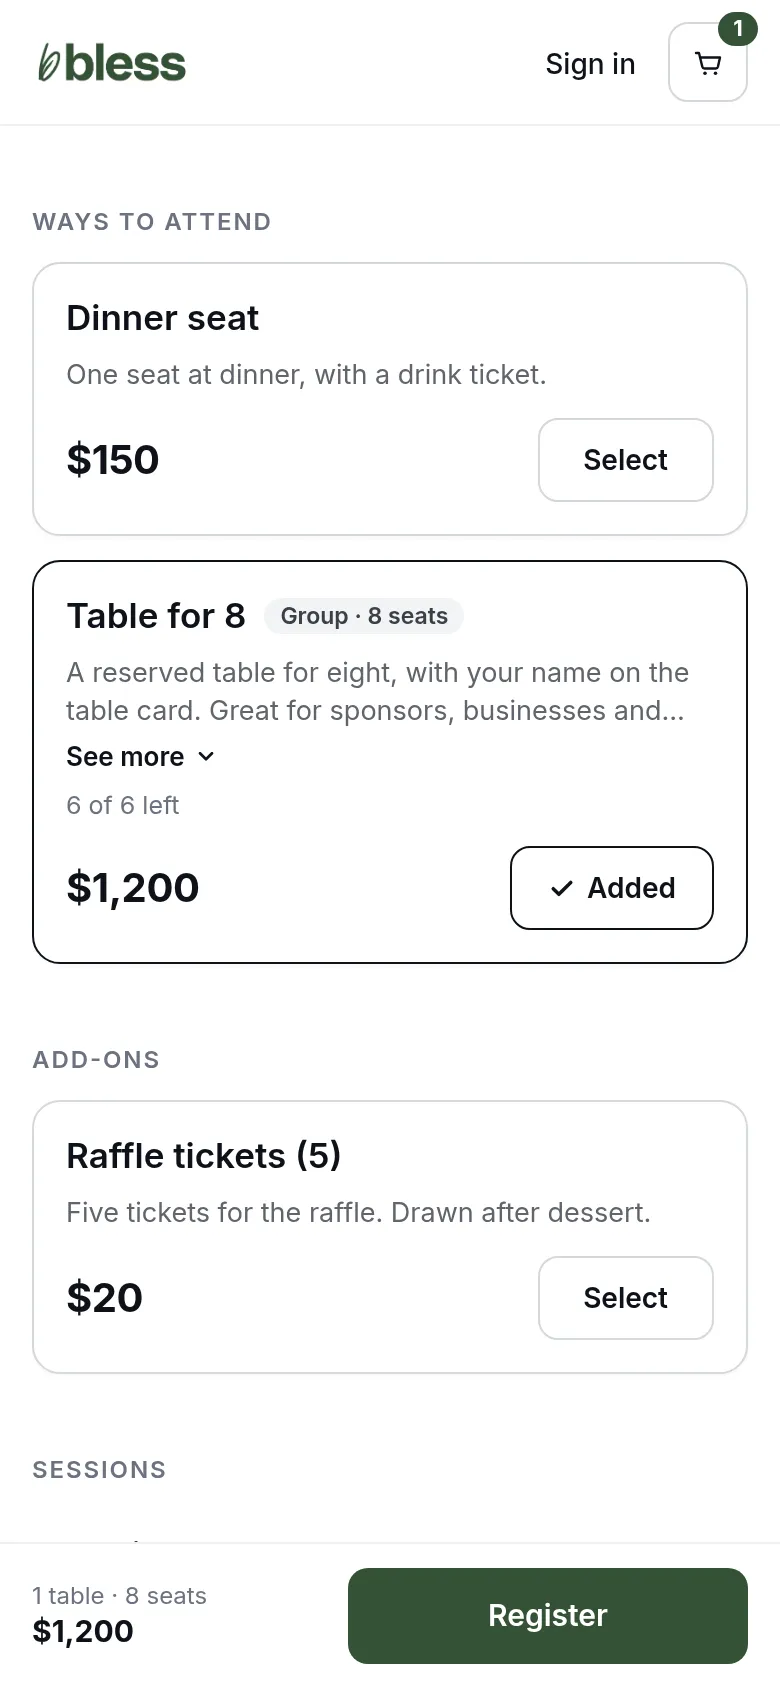
- On the event page, find the registration with a Group badge, such as “Table for 8”.
- Press Select. It changes to Added.
- Press Register.
Name your group and seats
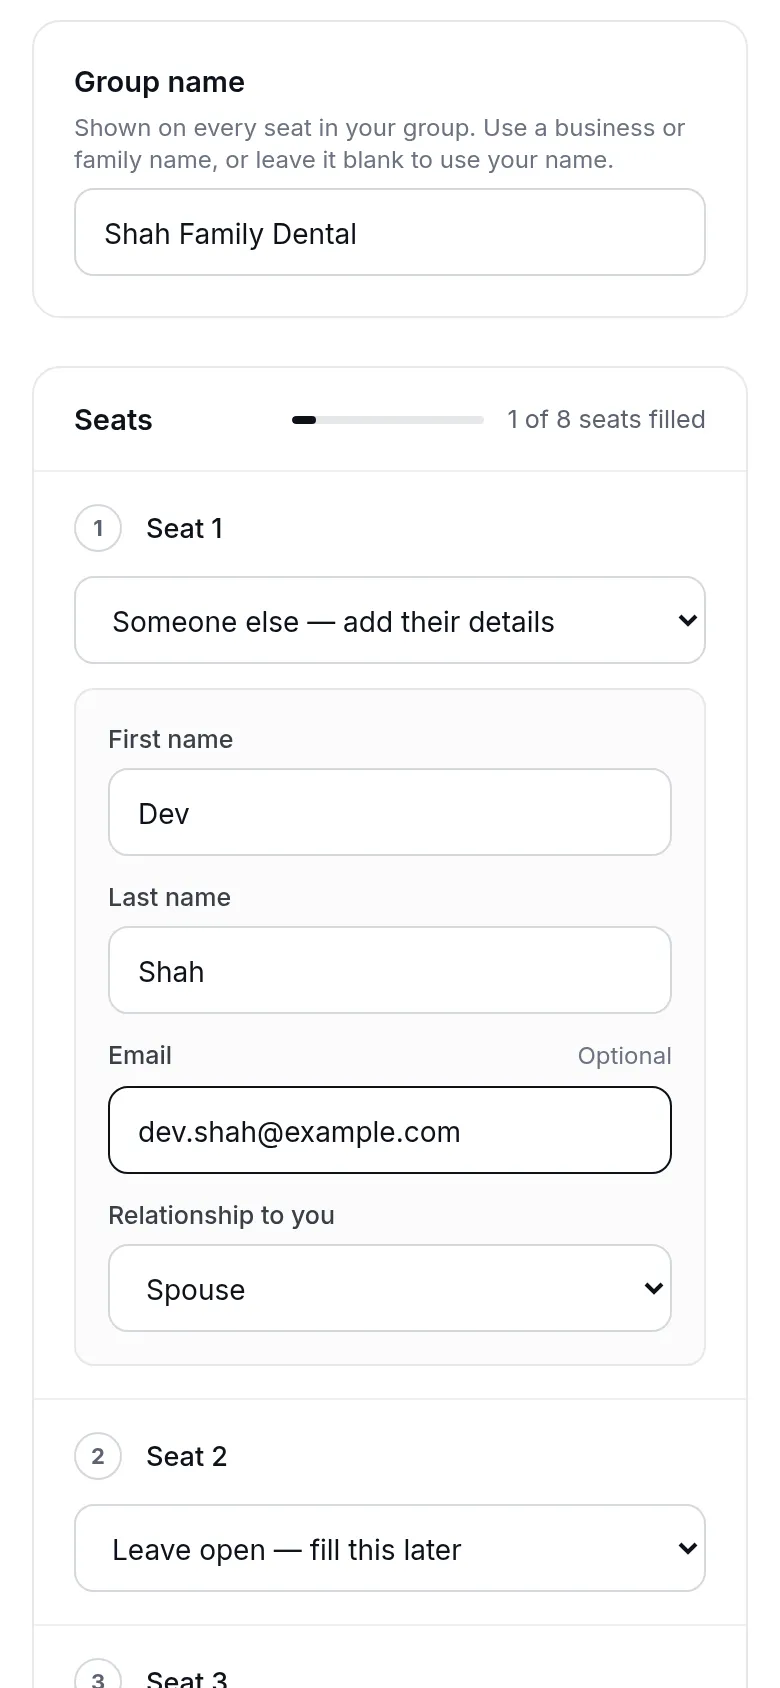
- Type your own details under Your information.
- Leave I’m attending ticked if you will sit at the table. Untick it if you are buying for others only.
- Type a Group name, such as a business or family name. Leave it blank to use your name. Guests see it on every seat.
- For each seat, choose who sits there:
- Someone else — add their details asks for their name, email and relationship to you.
- Leave open — fill this later keeps the seat for now.
- Press Continue to payment and pay. See Pay.
You do not need everyone’s details now. Fill in the people you know. You can finish the rest at any time.
Share your seat link
After you pay, you see You’re registered! with your table, its seats and the people you named.
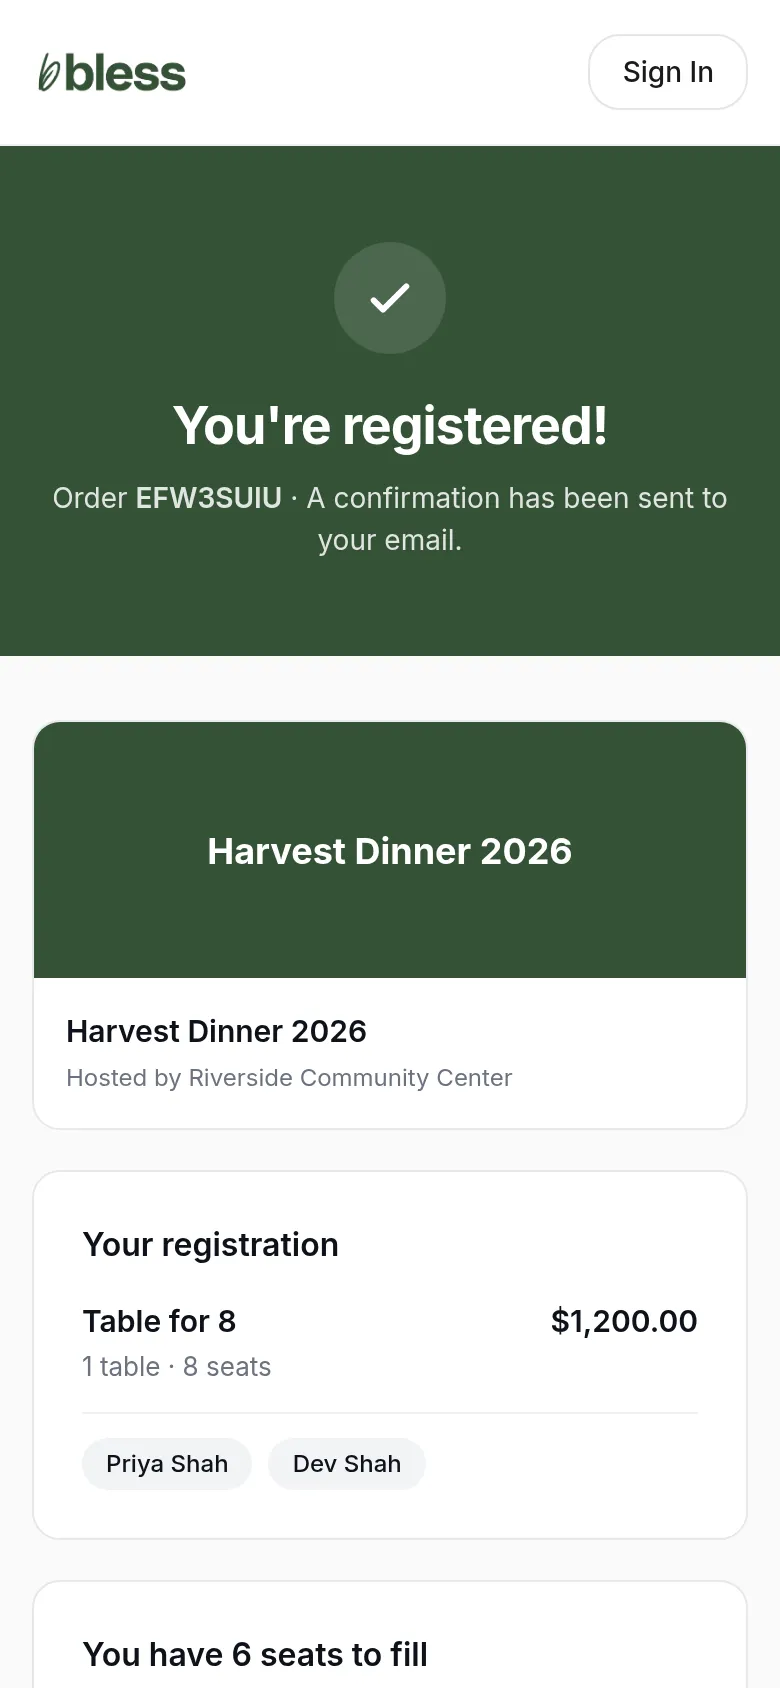
Lower on the page, you see how many seats are still open and your seat link.
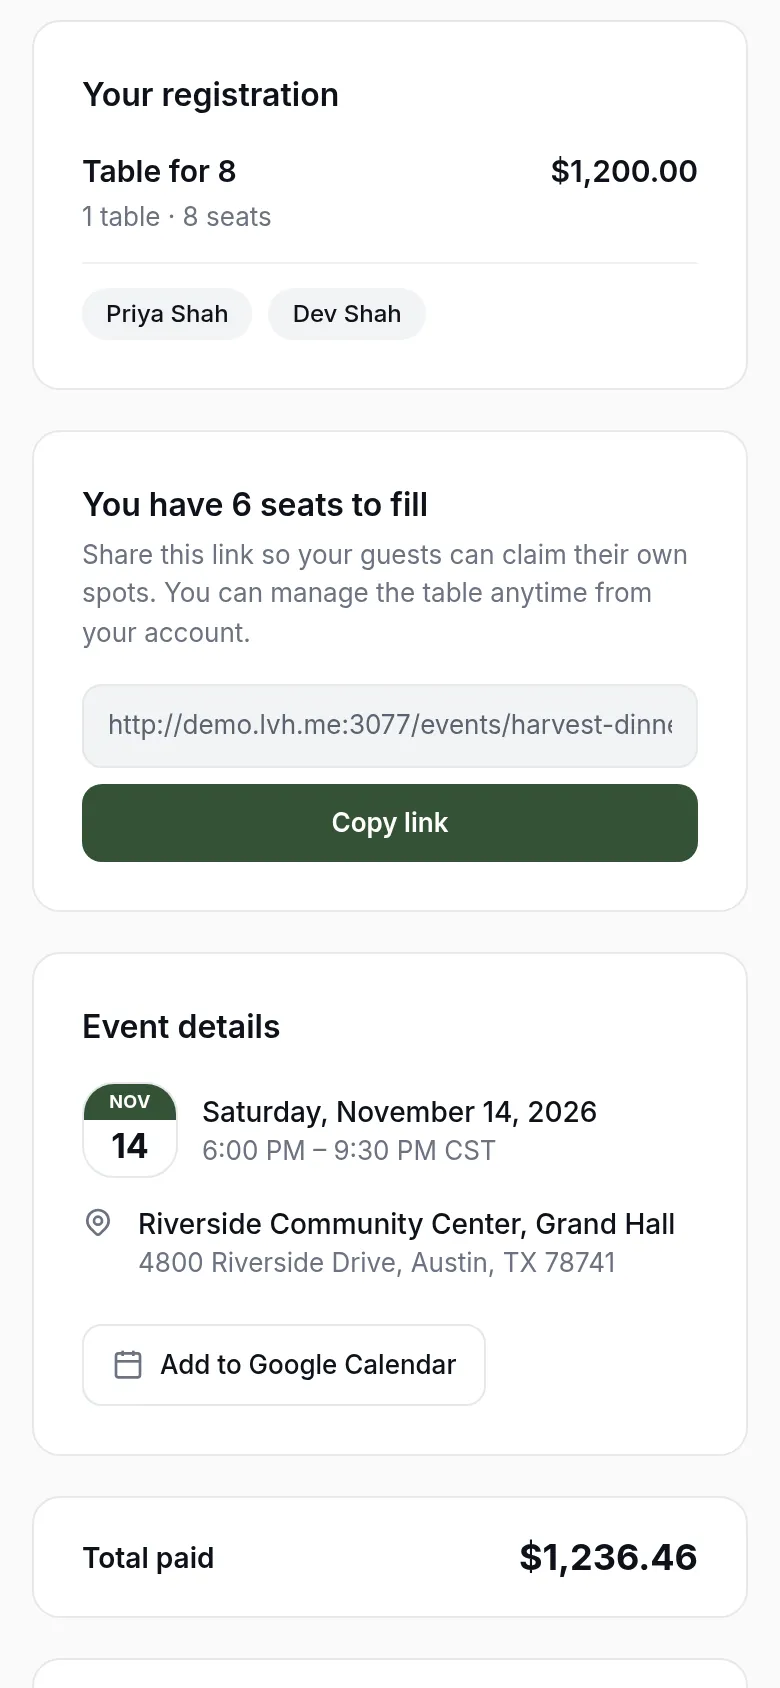
- Press Copy link.
- Send it to your guests by text or email.
Each guest opens the link and adds their own details. See Claim a seat. The link is also in your confirmation email.
Manage your table
Set a password from your confirmation, then sign in. See Your account.
- Open Events. Under Hosting, press Manage and share.
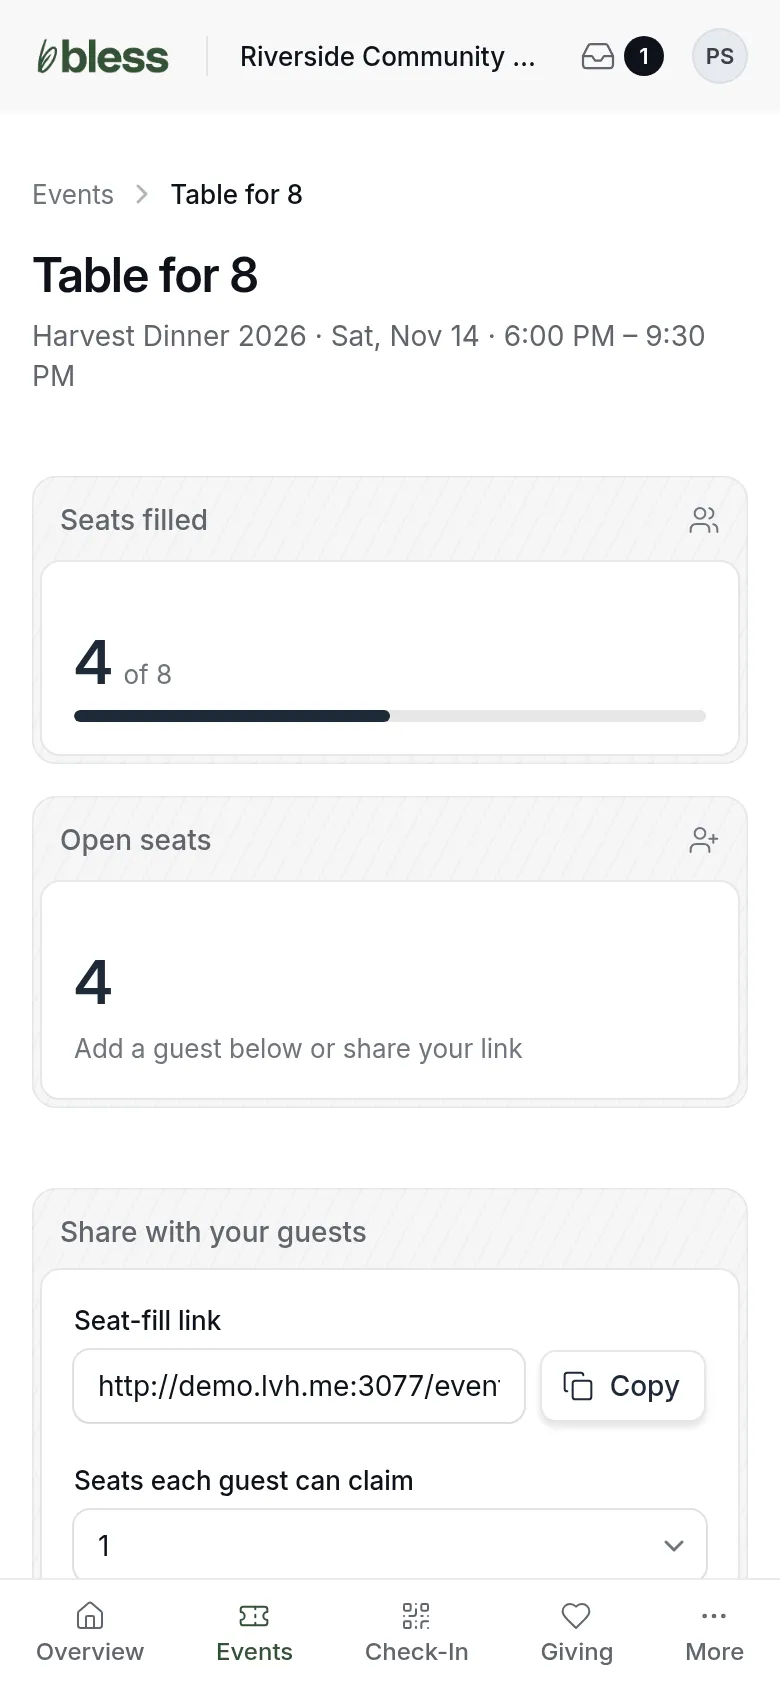
- Read Seats filled and Open seats.
- Under Share with your guests, press Copy to copy your seat link. Set how many seats each guest can claim.
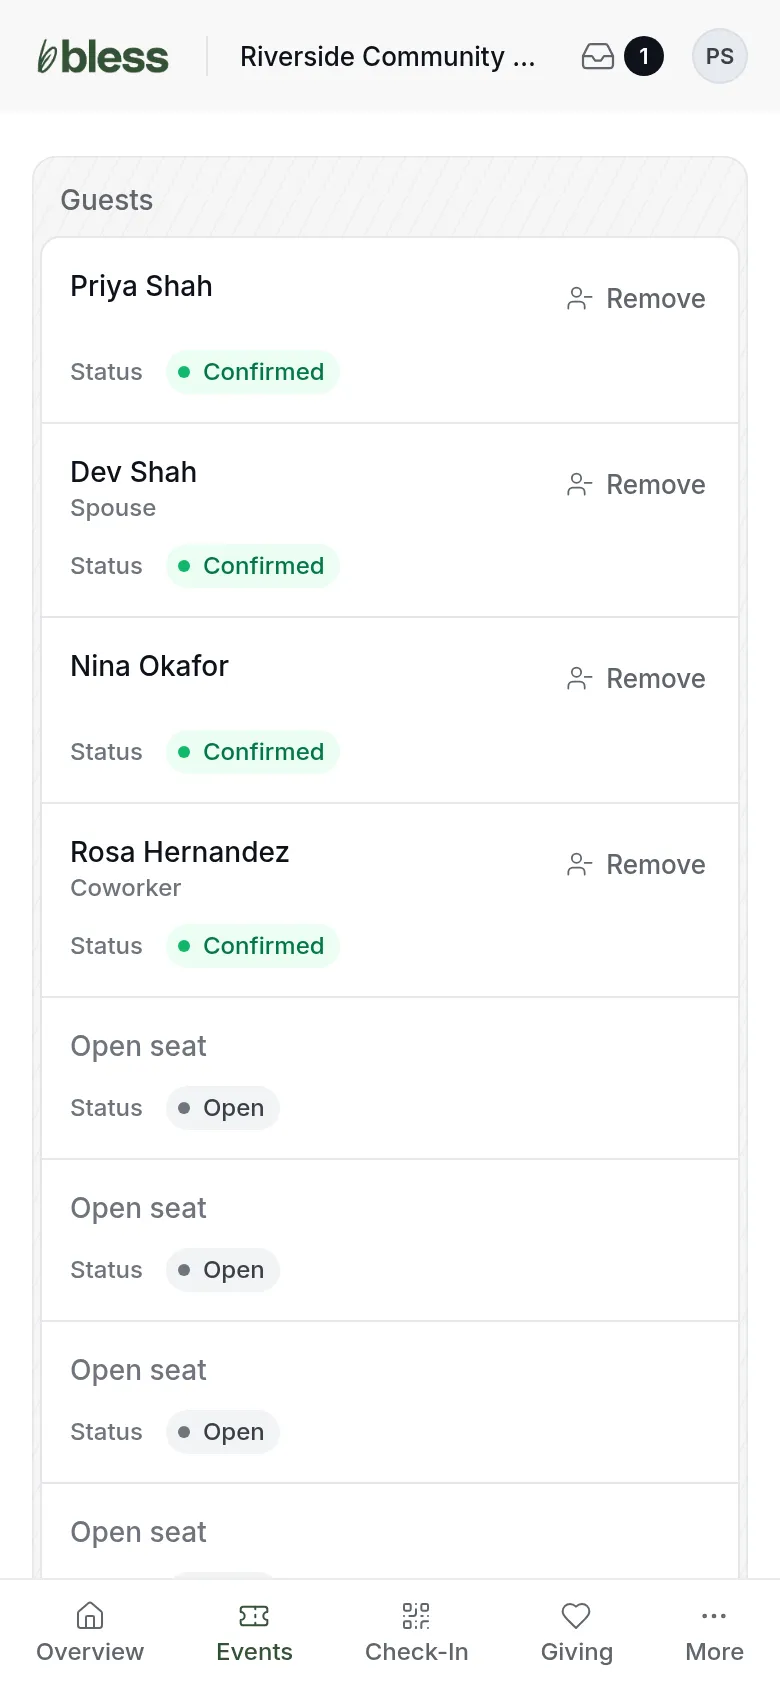
- Read Guests. Each person shows their status. Press Remove to free a seat.
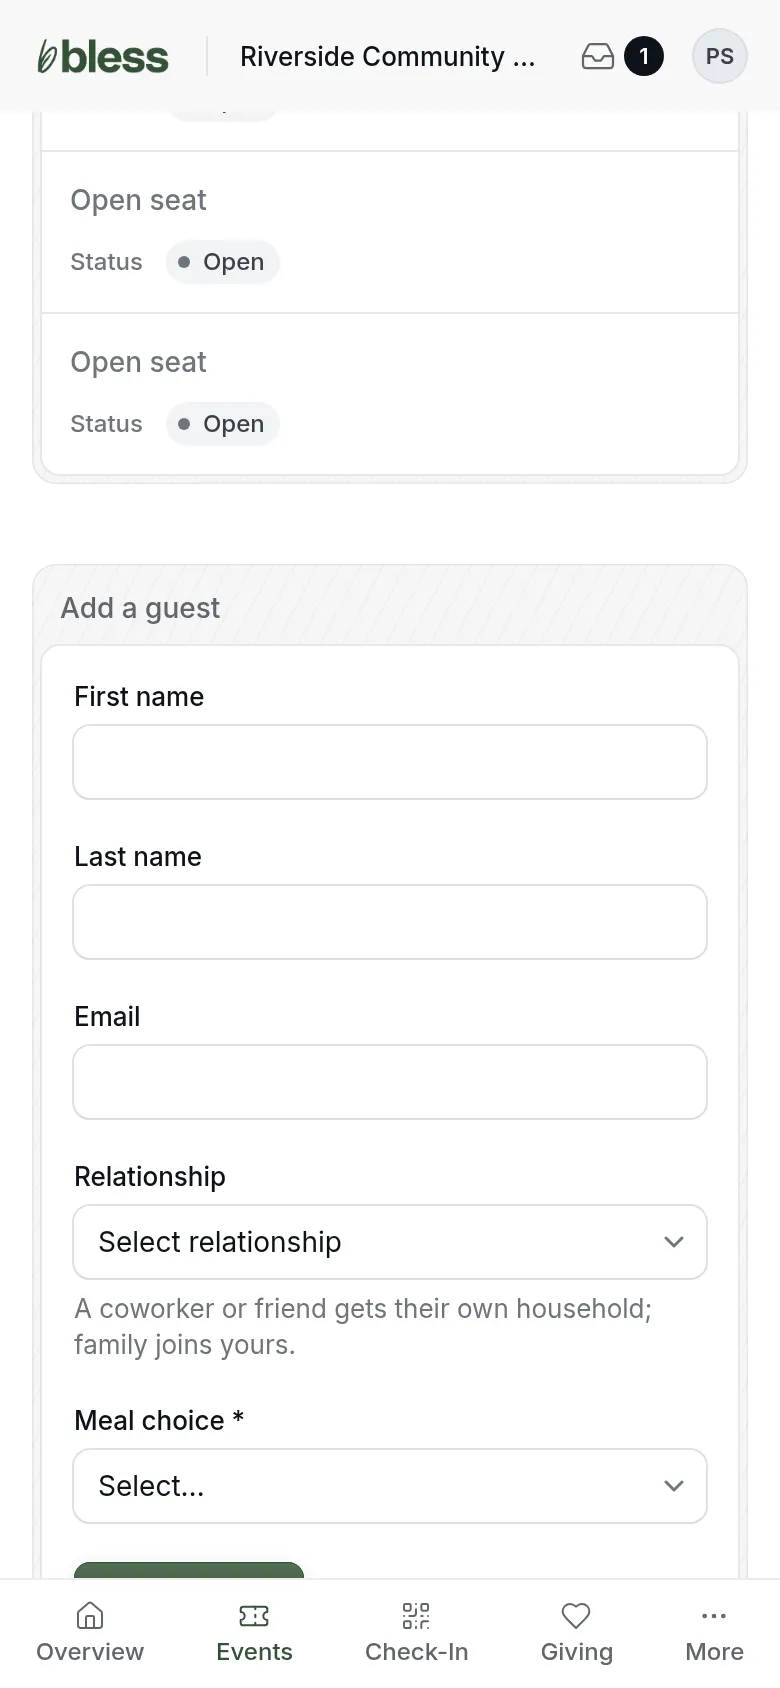
- To add someone yourself, fill in Add a guest at the bottom and press Add guest.
Good to know:
- A coworker or friend gets their own household. Family joins yours.
- Your seats open for guests only after your payment goes through.
- The organizer may email you to ask for names or for missing answers.
Updated
Was this page helpful?
Thank you. Your answer helps us make these pages better.